Bonsai Repotting Work! Part 2
Continuing from Part 1. Let's repot the loosened bonsai into a new pot!
First, fill the pot with large-grained Akadama soil until the pot bottom net is no longer visible.

Next, add small-grained red clay soil until it partially covers the larger grains you added earlier.
(Since I couldn't get small-grained red clay soil, I crushed the larger grains and added them.)

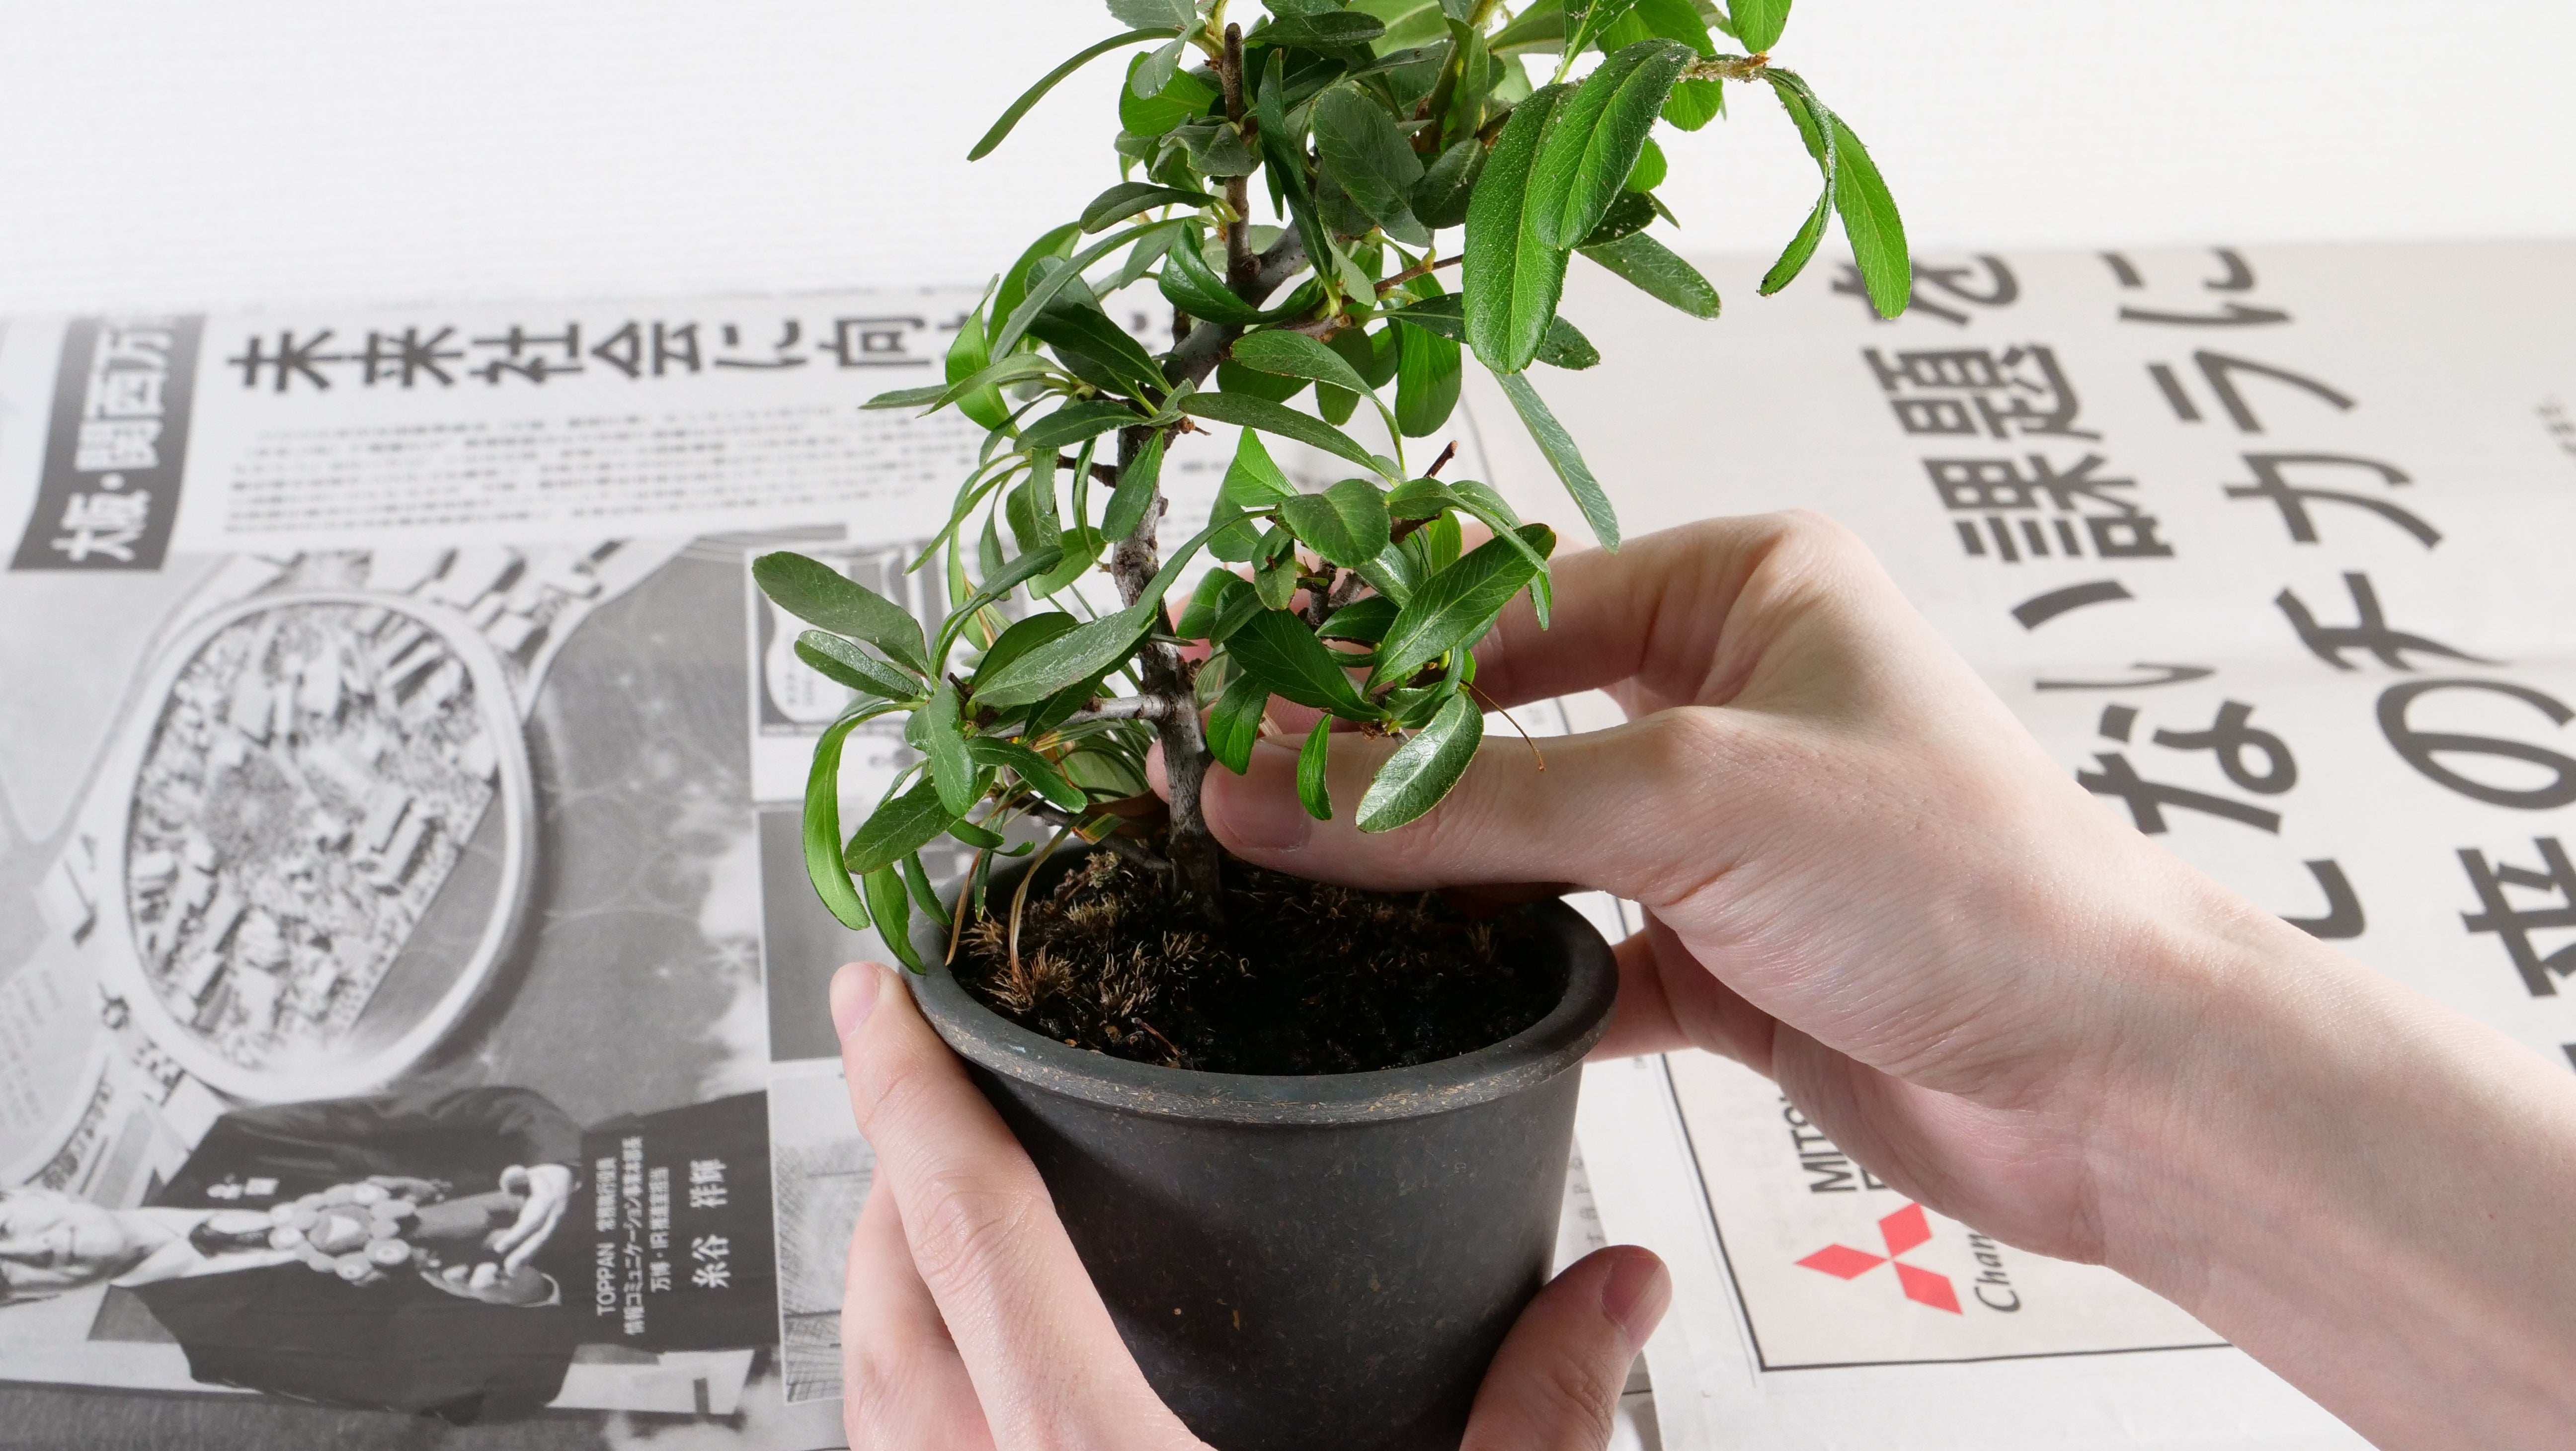
Then, it's finally time to place the bonsai you loosened up last time into the pot.
(If the bonsai is significantly taller than the pot at this point, it's a good idea to loosen it further with chopsticks to reduce its height.)

And, fill the gaps with small-grained red clay soil using a shovel.

Air gets trapped inside, increasing the volume, so use chopsticks to pack it down firmly, filling in the gaps.
This allows you to add more soil, so keep adding until it's too packed to poke with chopsticks.

Use disposable chopsticks and your palm to press more soil in.

Then, take the repotted bonsai outside.
Water it thoroughly until it seems like it can't take any more.
A lot of soil particles will wash out. At first, brown water will flow out, but keep watering until the water running out becomes clear.

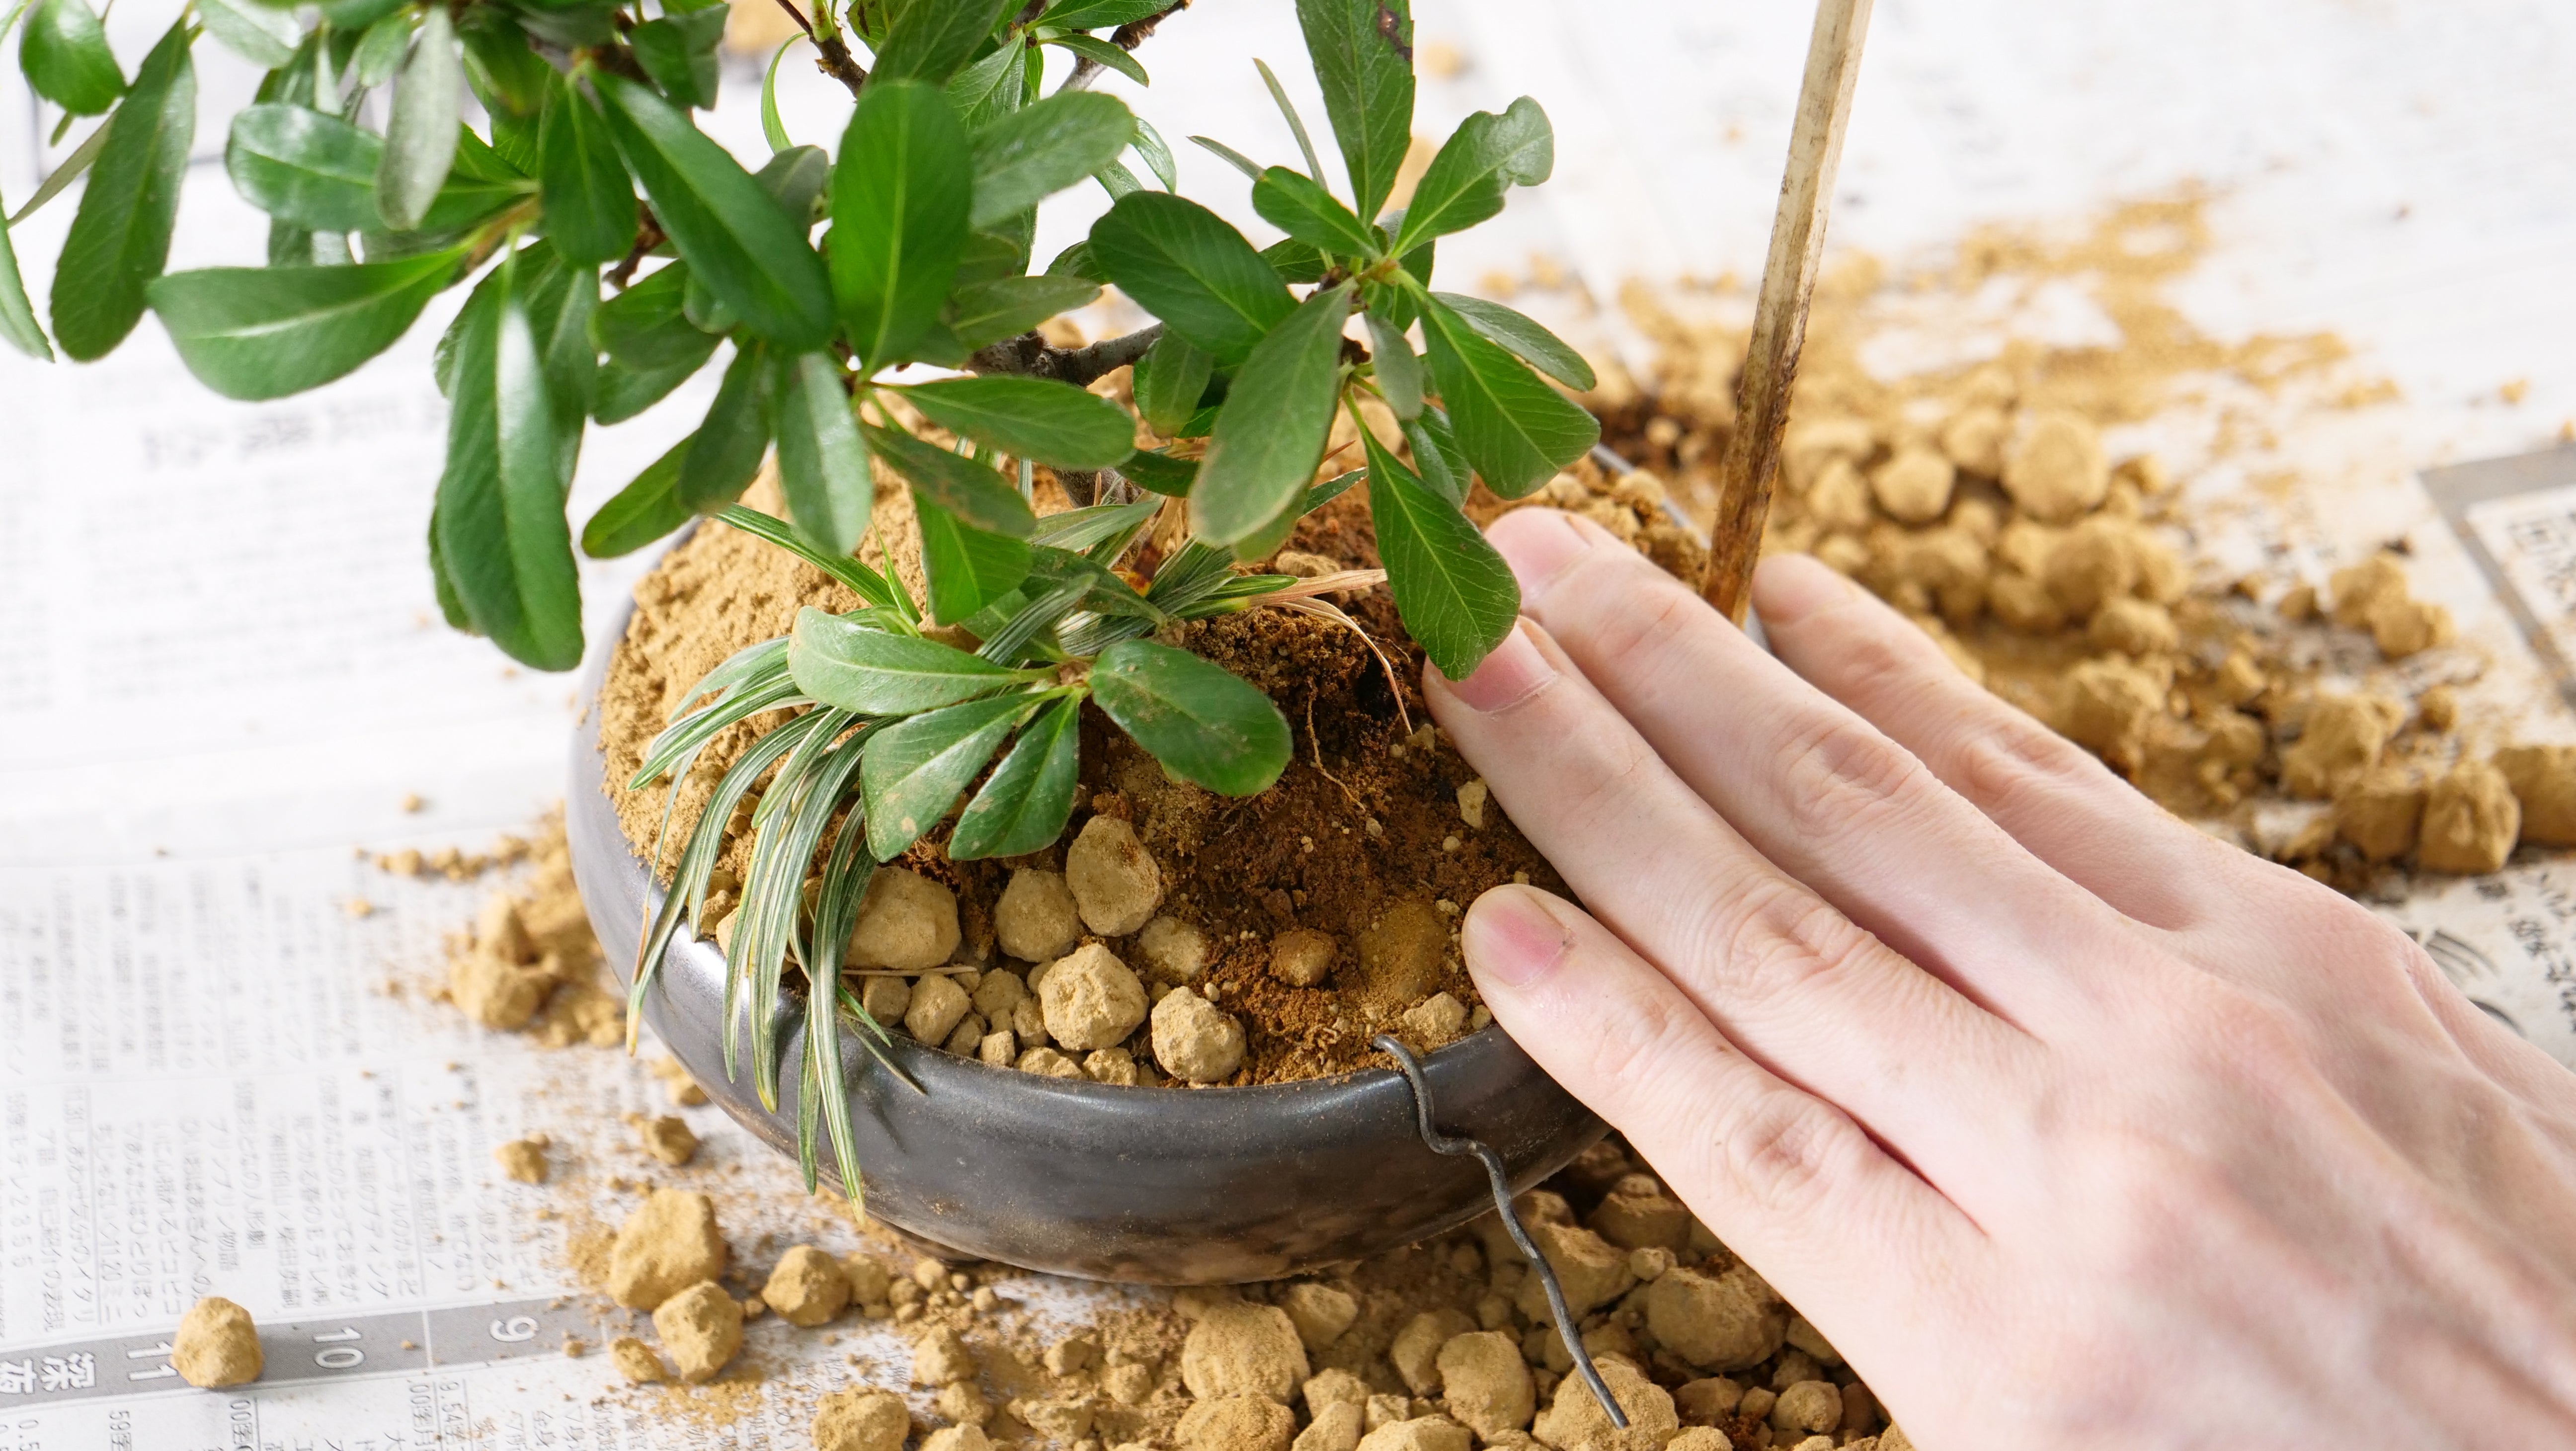
Once the flowing water becomes clear, use your palms again to firmly press the soil down.

Next, prepare the moss. If using dried moss, soak it in water.

After thoroughly watering the bonsai pot, bring the wire you left hanging over the edge in Part 1 to the center and secure it near the roots.
This prevents it from shifting out of the pot. If the edges extend beyond the pot, lay them flat parallel to the ground.

Then, press the pre-moistened moss firmly onto the soil.
Press down firmly with your palm to ensure the moss doesn't lift.
(Make sure not to overlap the moss when attaching it. Overlapping will cause the moss underneath to mold and rot.)

After attaching the moss, take it outside again and water it.

Finally, prune it to improve its appearance.
I completely removed all aphid-infested parts from the pyracantha I'm growing.

Also, if necessary, spray your bonsai with an insect repellent spray.

Dress up a little.

There you go—it's done!


Take a look. In stark contrast to the appearance shown in Part 1, the leaves have been pruned and moss added, transforming it into a tasteful bonsai.
How did it go?
I hope I was able to explain the repotting process in detail.
Now you can all consider yourselves repotting masters!
The bonsai pot used this time is the medium size shown here.
https://acm-store.com/products/naginowa-black-matte-banko-ware-japanese-bonsai-pot-set-of-3
We would be absolutely delighted if you would use NAGINOWA's bonsai pots for your repotting!
Leave a comment
This site is protected by hCaptcha and the hCaptcha Privacy Policy and Terms of Service apply.