Bonsai Repotting Work! Part 1
In this article, let's learn about repotting bonsai together with me, the author of this journal.
Since it will be quite long, I plan to present it in two parts: Part 1 and Part 2.
I hope everyone reading this article will become a repotting master.
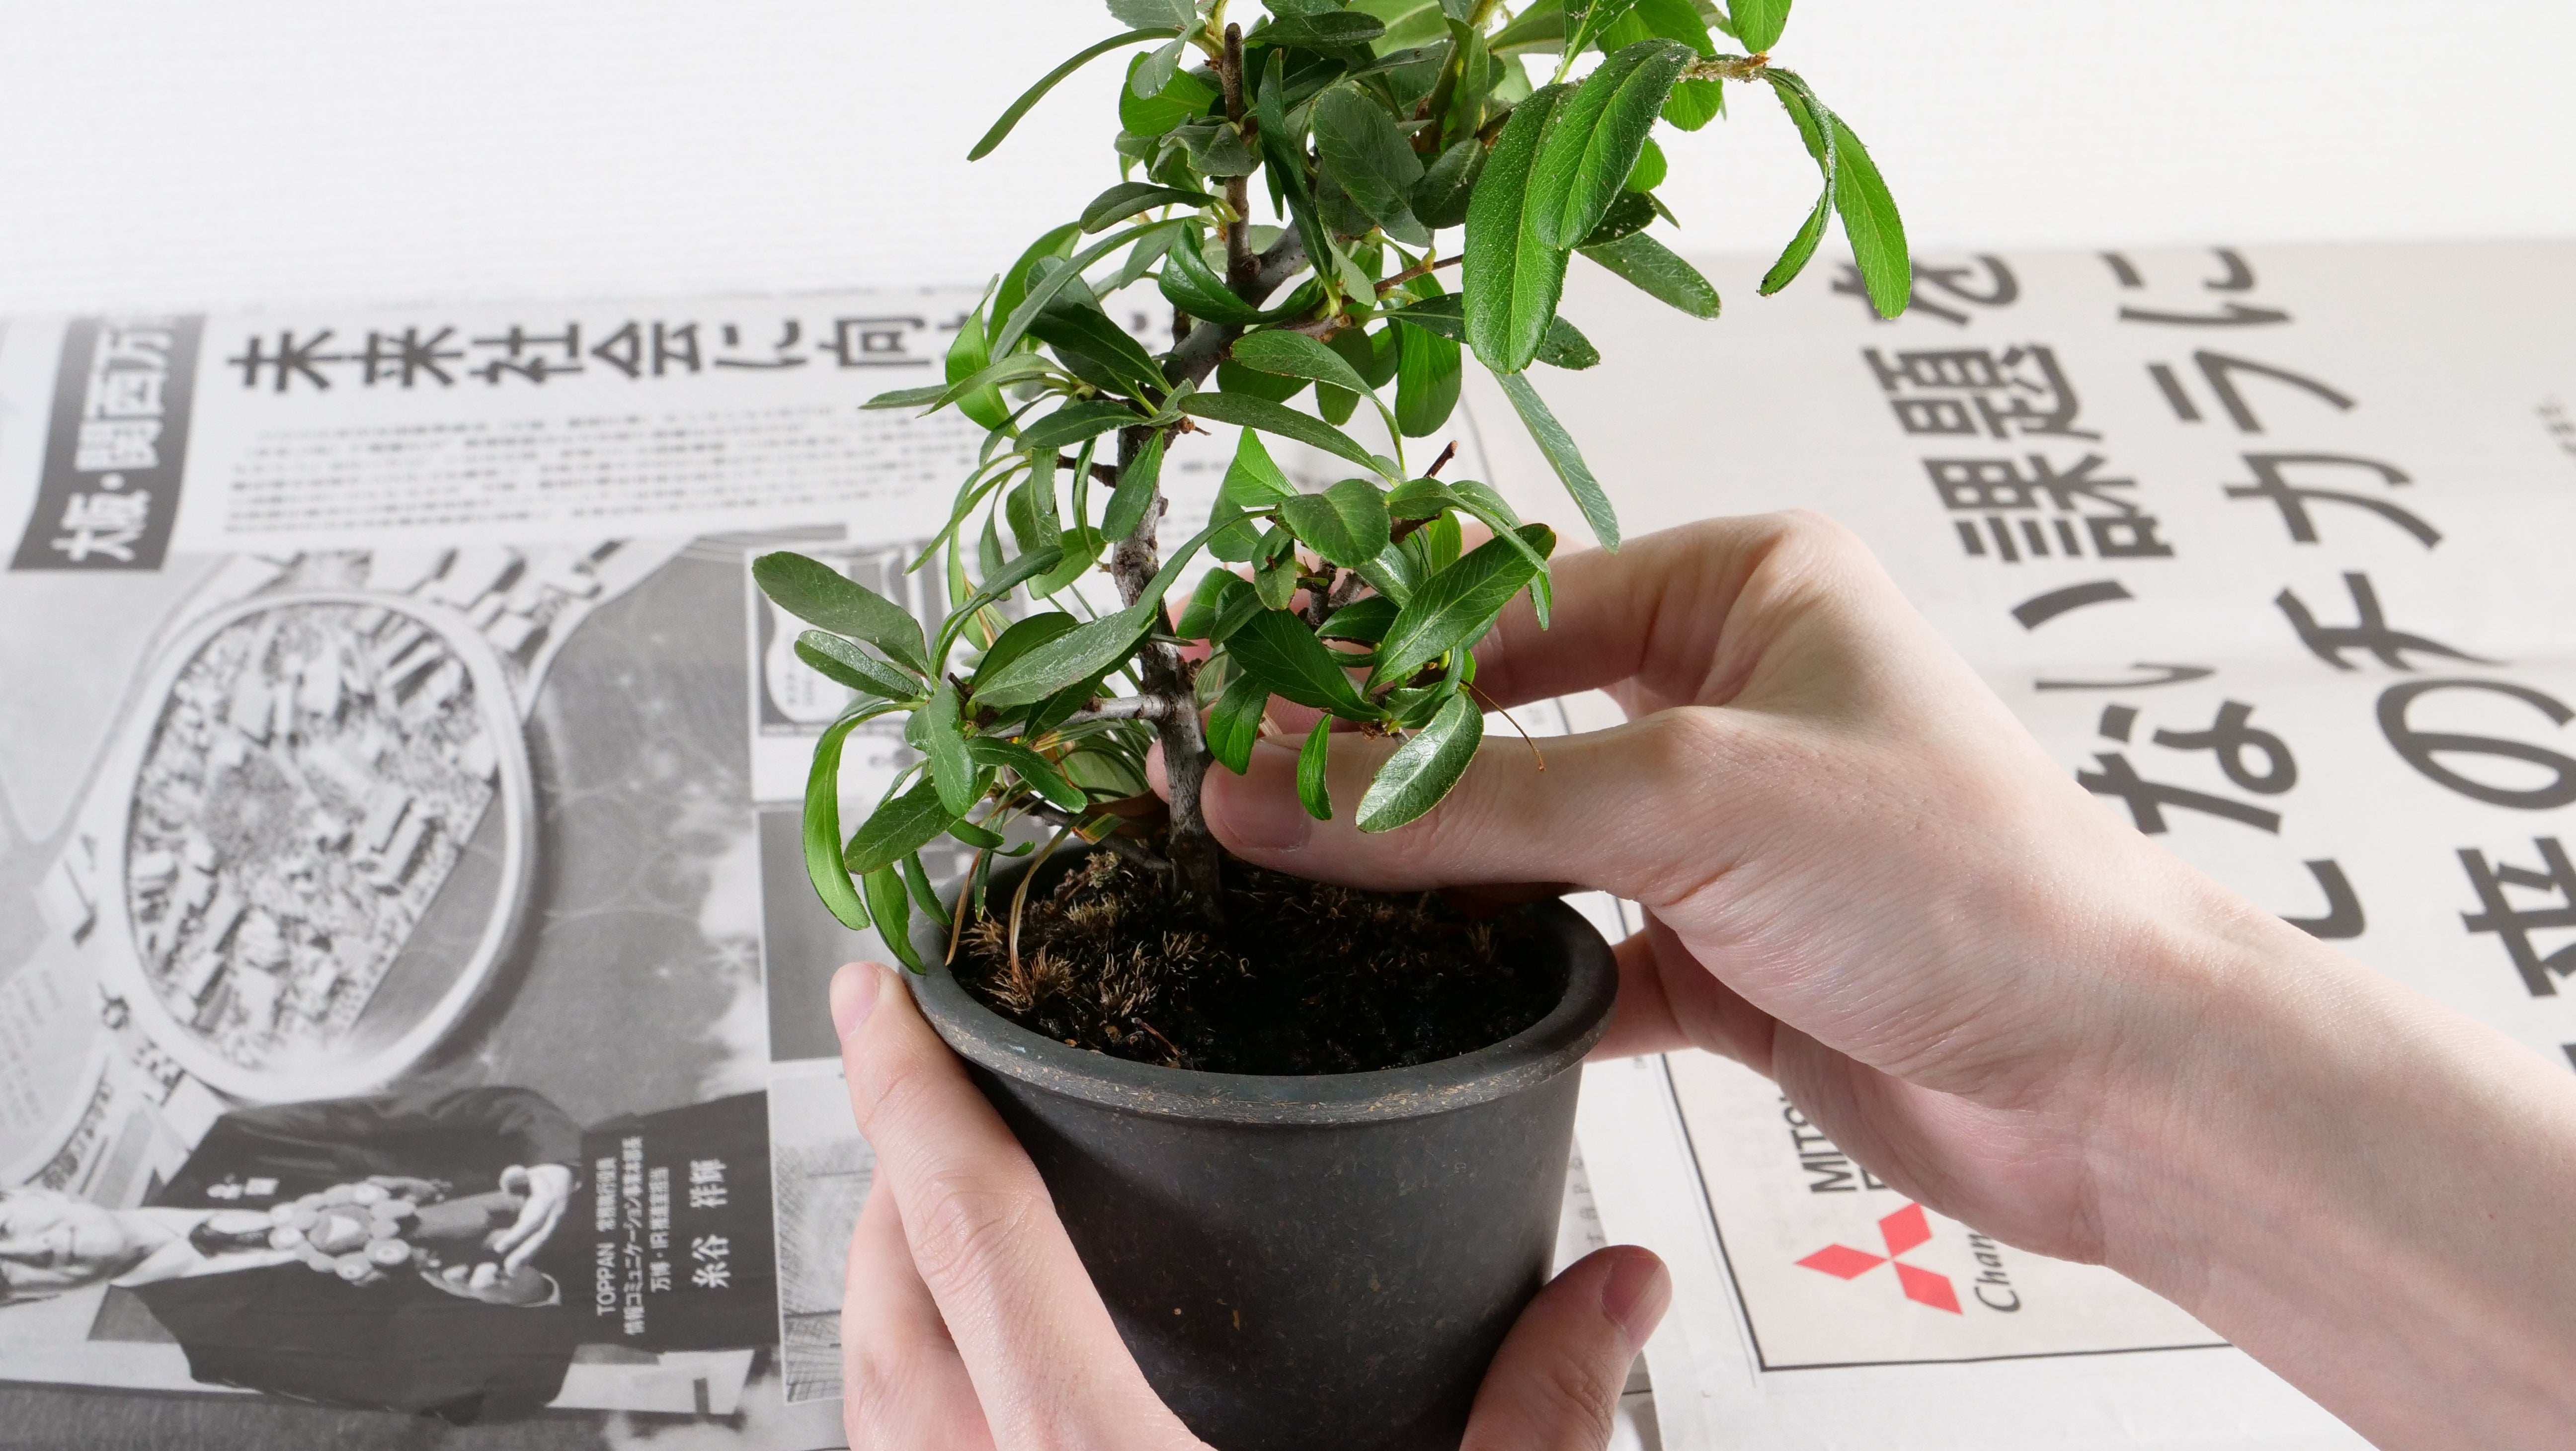
First, take a look at my bonsai (pyracantha) before repotting.

The leaves are growing haphazardly, it's infested with aphids, and it's certainly not in a beautiful state.
Now, let's introduce the tools needed for repotting and pruning.

- The bonsai tree to be repotted
- Akadama soil
- Moss
- New bonsai pot
- Pot bottom net
- Shovel
- Pruning shears
- Disposable chopsticks
- Wire (if not already attached before repotting)
- Insect-repellent plant spray (as needed)
Let's get started.
First, if you're working indoors, lay down newspaper or something similar to protect the surface from soil.
Grasp the base of the bonsai and pull it straight up.

It's okay if the soil crumbles.

If you currently have wire attached, remove it as it can be reused.

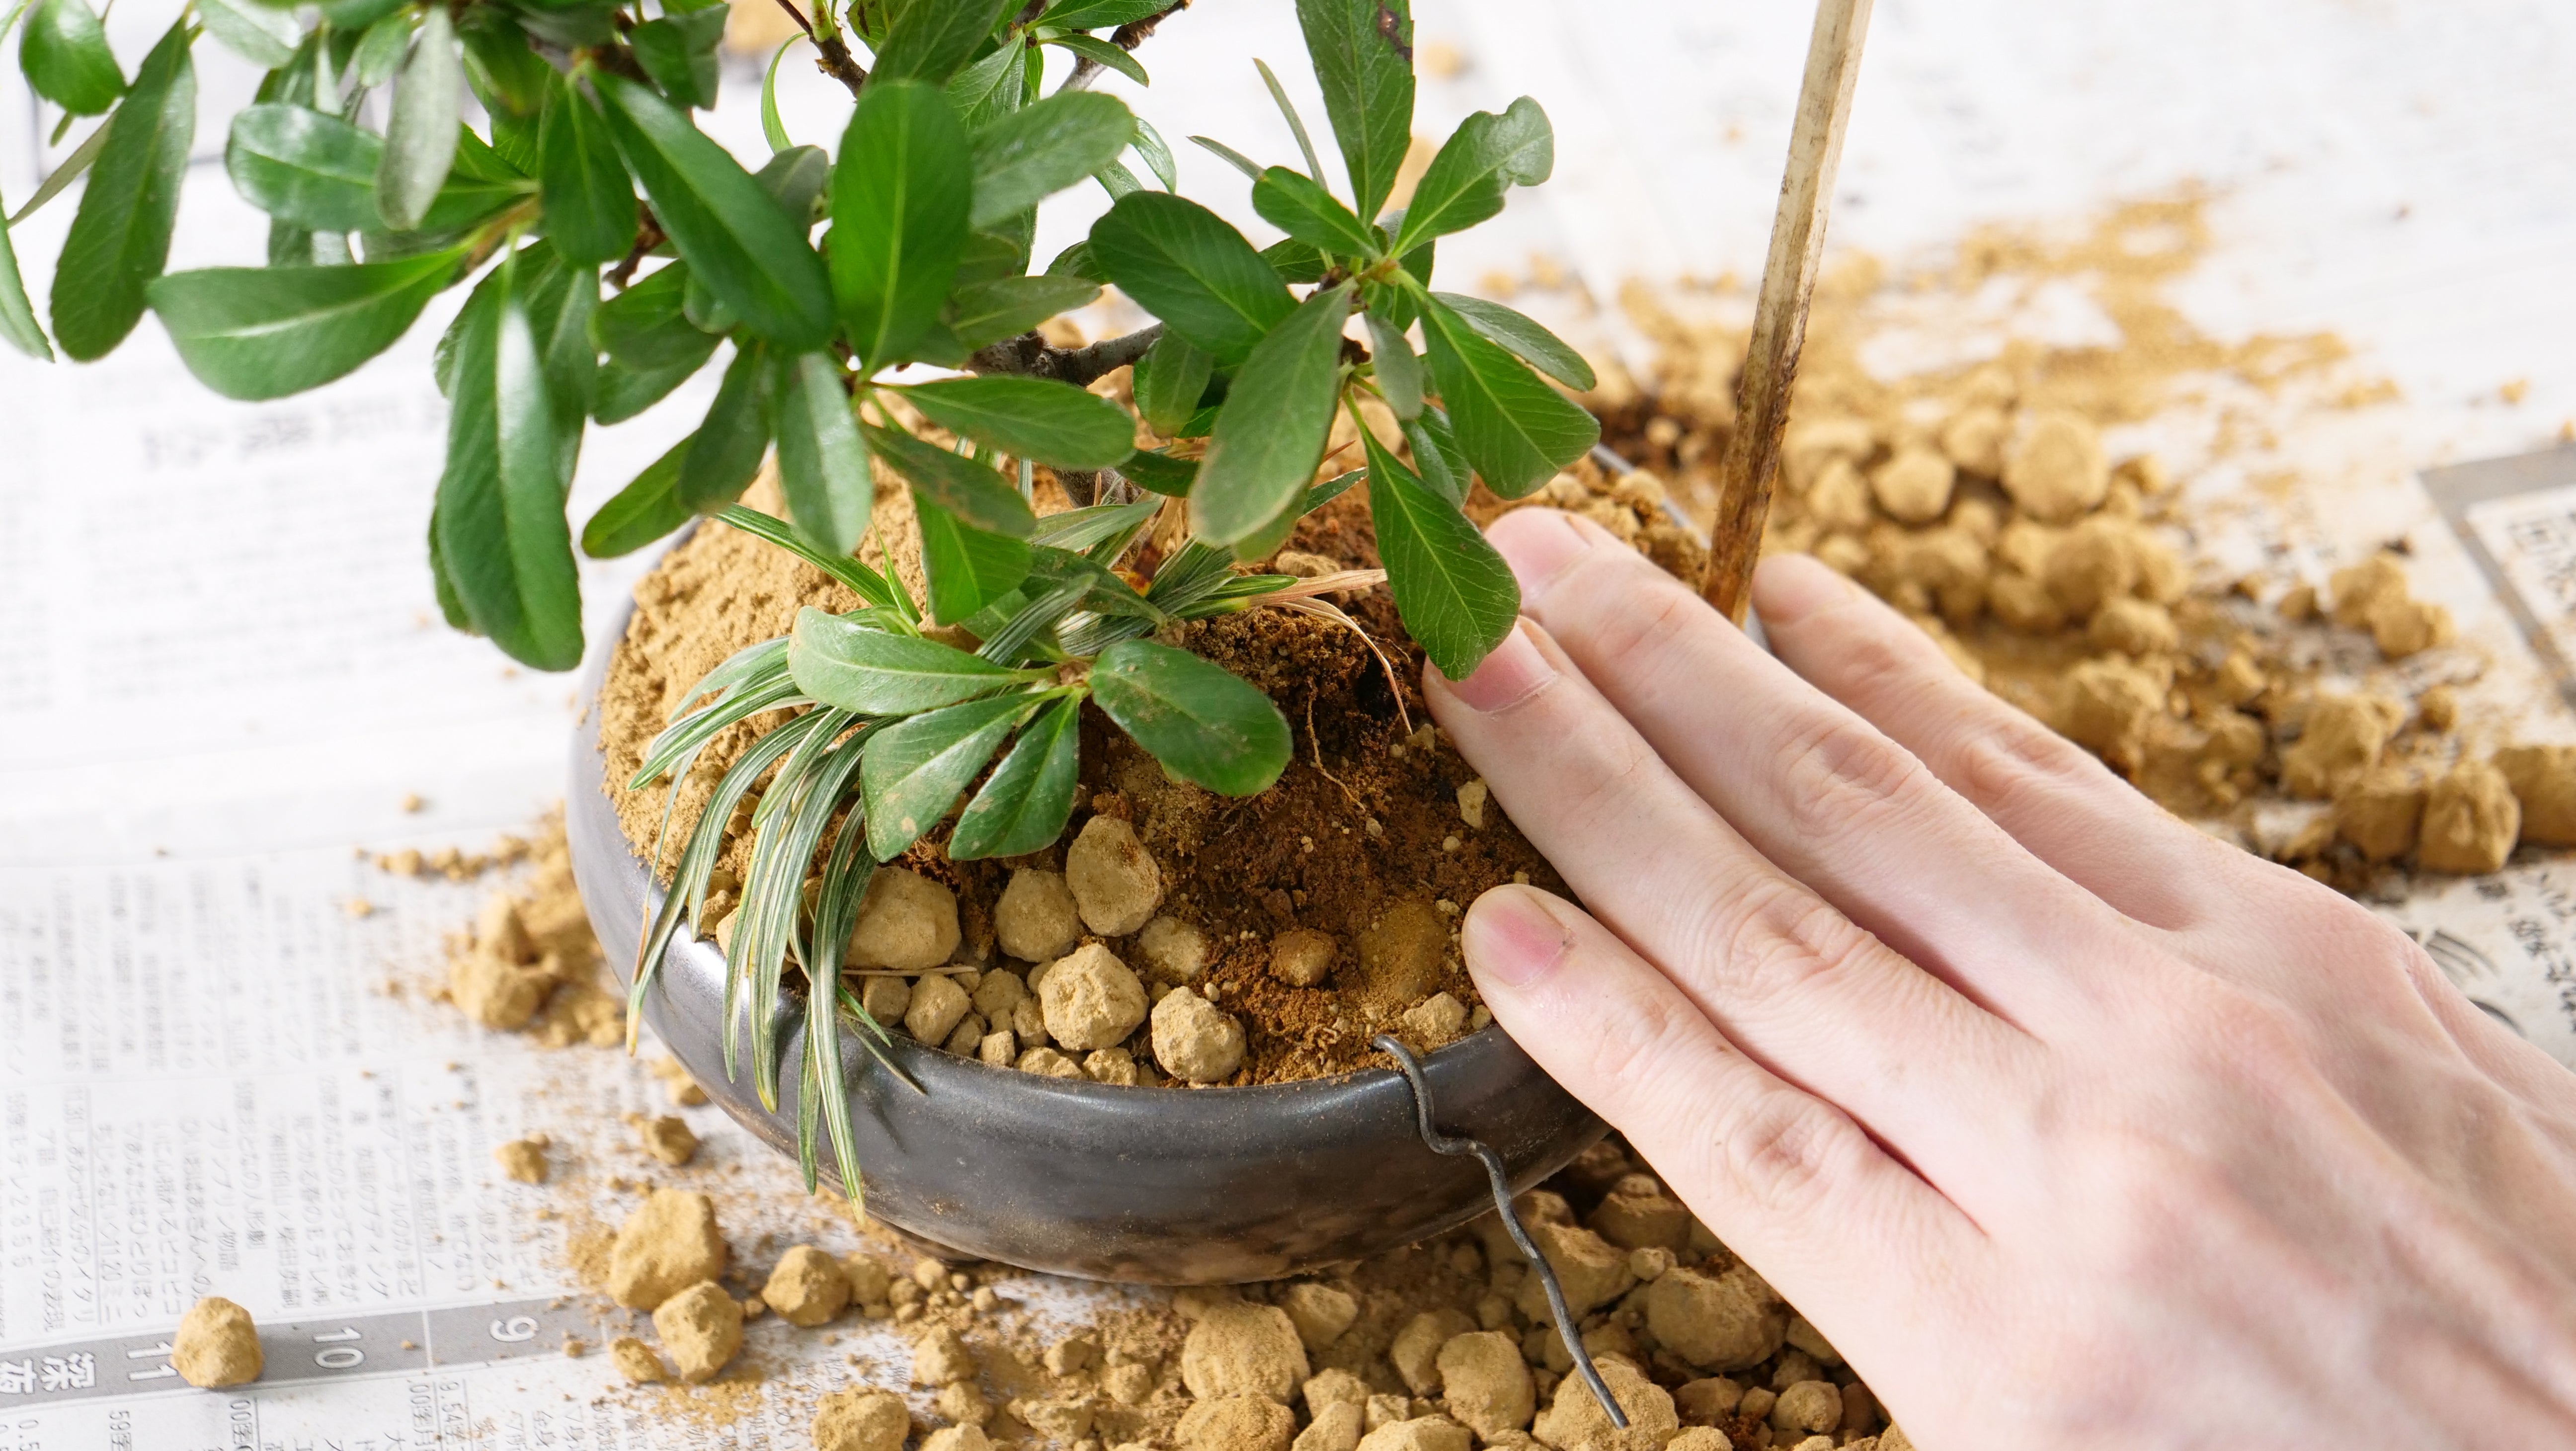
The roots of the removed bonsai have grown quite long. To trim the roots, use disposable chopsticks to scrape off the excess soil.
Leave about two-thirds of the soil height as it was when the plant was removed.

Then use scissors to cut off the roots completely. Go ahead and cut all the way down to the part you trimmed off earlier.


After trimming the roots to a certain extent, it's time to prepare a new pot.
Place a pot bottom net inside the new pot.
Using a pot bottom net prevents excess soil from washing away when you water the plant.

Next, thread the wire you removed earlier through two points on the underside of the pot.

Pull the wire out from inside the pot and let it hang down along the outside of the pot.

That's all for Part 1.
We'll upload Part 2 shortly, so please wait just a little longer.
We would be absolutely delighted if you would use NAGINOWA's bonsai pots for your repotting!

Leave a comment
This site is protected by hCaptcha and the hCaptcha Privacy Policy and Terms of Service apply.